Connecting OPNsense router - first steps
Here are the first steps for connecting your new OPNsense router to internet (WAN) and local network (LAN).
1. Unpack the box and take out the router

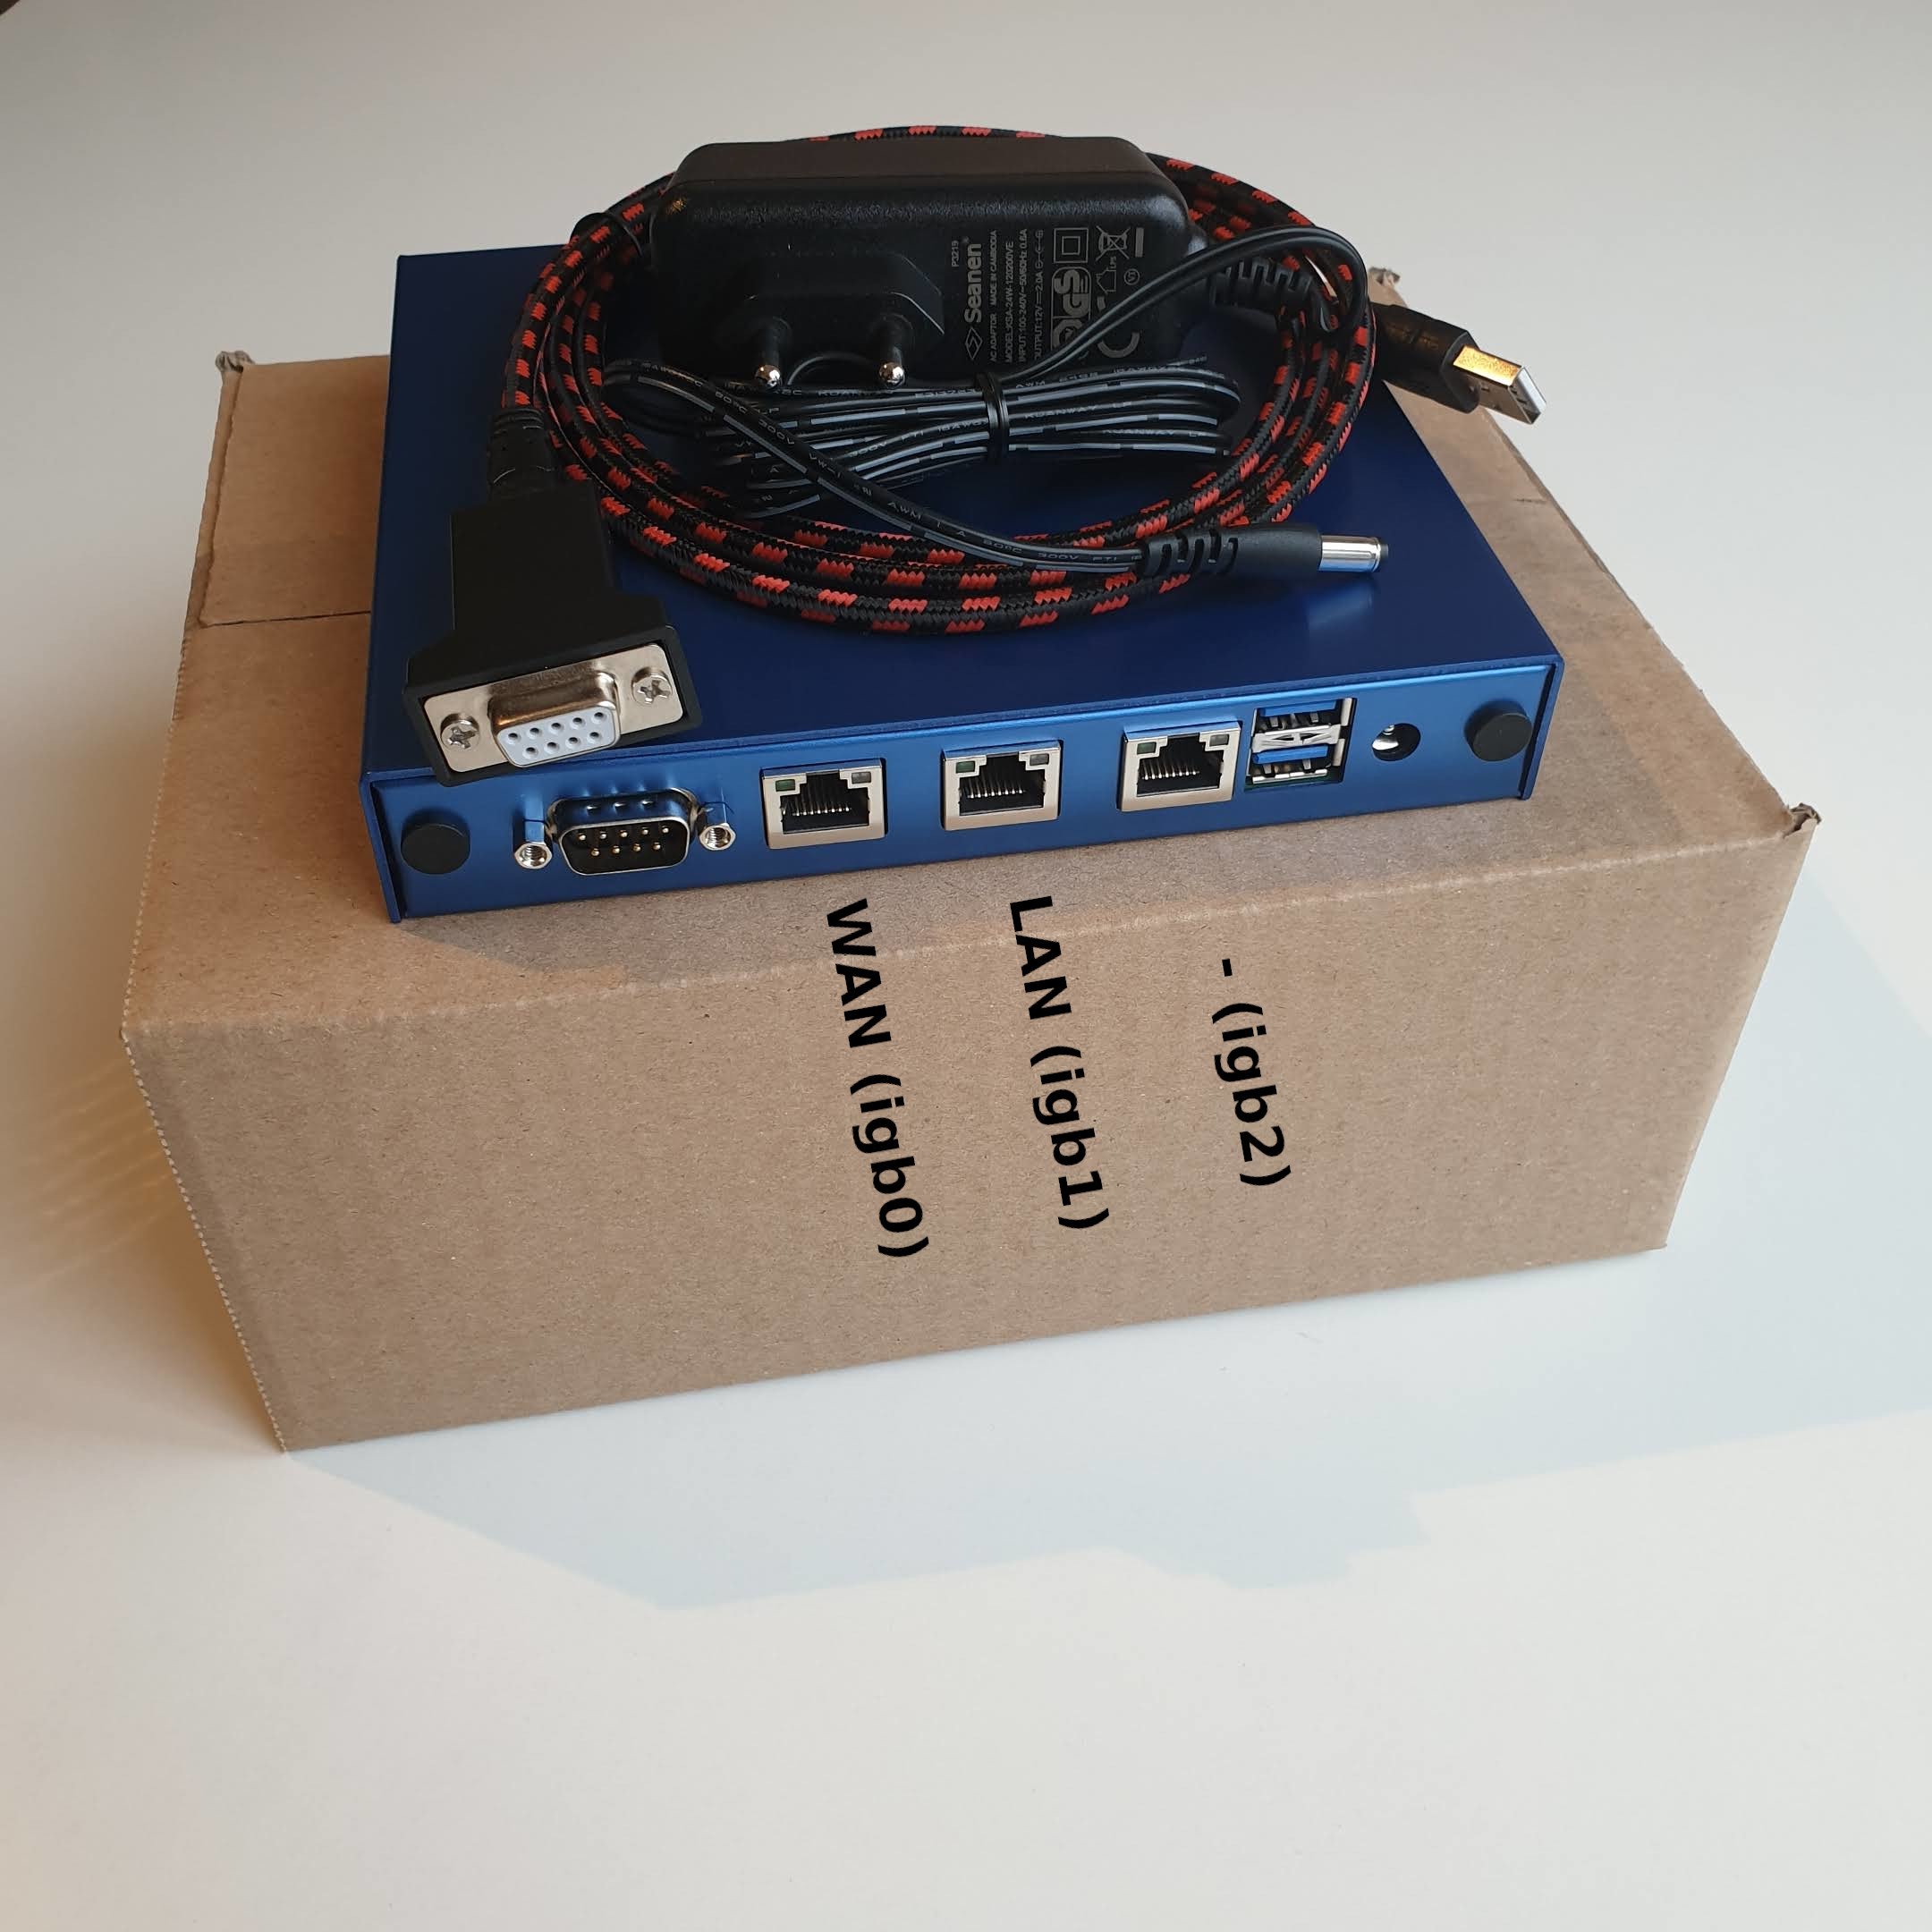
The photo above shows the port numbering for APU devices. If you have a TLSense router, ports are labeled.
2. Connect the network cables
Your device will come pre-configured with Port 0 as WAN and port 1 as LAN. The remaining ports are not configured.
WAN (wan) -> igb0 -> DHCP
LAN (lan) -> igb1 -> v4: 192.168.1.1/24
Connect your internet cable to the WAN port.
Connect your switch to LAN port. If you don't have a switch, you can connect it directly to a computer or access point.
If you have a 4-port TLsense device, the WAN is configured on port 1, LAN is most of the time on port 2, but sometimes pfSense detects it on port 4. If port 2 does not work, try to connect to port 4.
3. Connect the power adapter
Connect the power plug into your router before connecting it to the wall. Your router will boot automatically when the power is connected.
Your router will take about a minute to boot.
Some router models have an internal "beeper". OPNsense will emit a few happy beeps after the router finished booting.
All APU and 6-port TLSense routers have a beeper. The 4-port models don't have a beeper, so your device will boot silently.
4. Connect to the web interface.
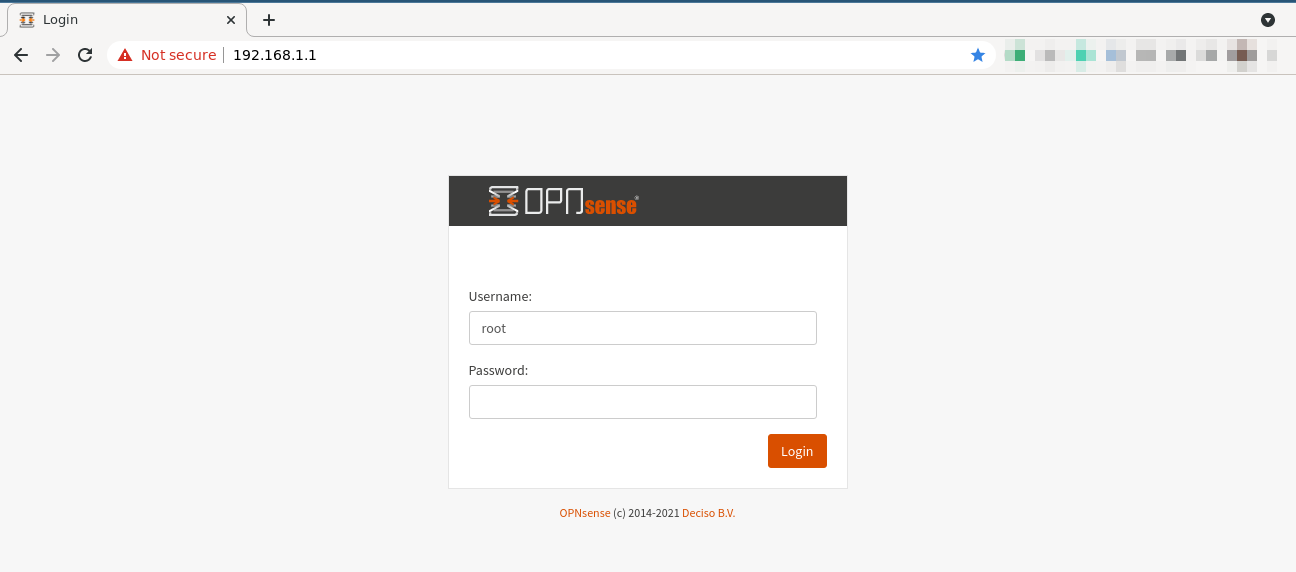
If you chose OPNSense for your router OS, you should now be able to connect from your computer via the web interface to the OPNSense web control panel at: https://192.168.1.1/ You will see a security warning about self-signed SSL certificate similar to this
Your connection is not private

Attackers might be trying to steal your information from 192.168.1.1 (for example, passwords, messages, or credit cards). Learn more

NET::ERR_CERT_AUTHORITY_INVALID
Your browser can't verify that the TLS certificate is valid. This is normal and nothing to worry about.

Default username and password to OPNsense are:
Username: root
Password: opnsense
We highly encourage you to change the password to something more secure.
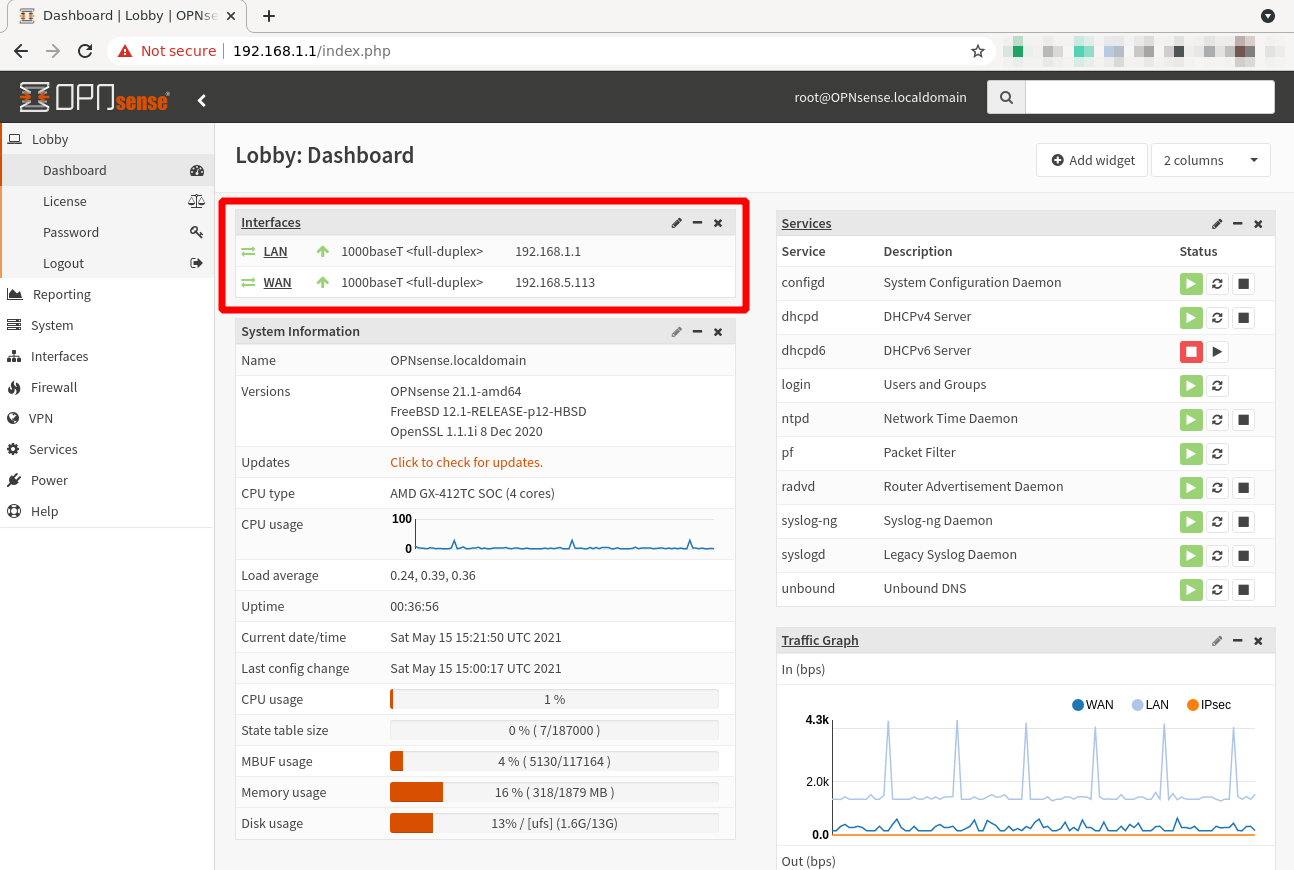
After you log in, you can verify that the internet connetion works in the dashboard.

WAN should show your gateway IP. This will typically be your public IP.
LAN should show a local IP of your router: 192.168.1.1