Connecting your IPFire router to the network
Once you have received the parcel from us, follow these steps to connect your new IPFire router to the network.
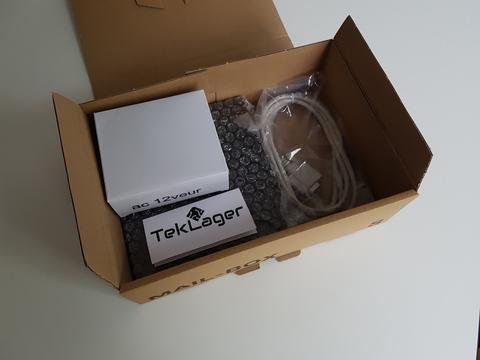
1. Unpack the box and take out the router.
2. Connect the network cables
Unless you specified otherwise, device will come pre-configured with Port 0 as WAN and port 1 as LAN.
WAN (wan) -> igb0 -> red0   -> DHCP

LAN (lan) -> igb1 -> green0 -> v4: 192.168.1.1/24
Port 0 is the one closest to the serial port. Connect your internet cable into the WAN port and your switch (or access point) to LAN as shown on the photo:
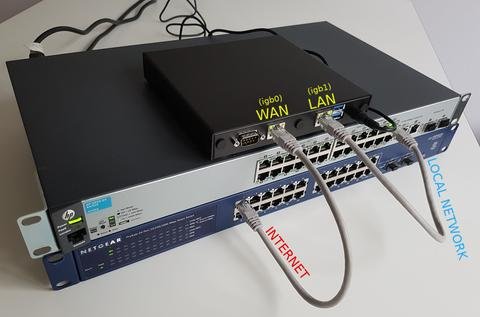
If you have ordered 3-port router, your LAN port (green0) will be in the middle, and the third port will be left unconfigured.
3. Connect the power adapter
Connect the power plug into your router before connecting it into the wall.
APU boards have very low ESR input capacitors. To avoid arcing on the DC jack, please plug in the DC jack first, then plug the AC adapter into the wall.
4. APU board is booting
Your router should now boot. It will take about a minute.
5. Connect to the web interface.
Now you should now be able to connect from your computer via the web interface to the IPFire web control panel at: https://192.168.1.1:444/
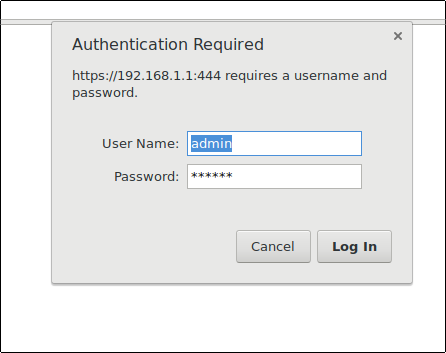
The default username and password are:
Username: admin

Password: ipfire
Note: if you are using a serial cable or HDMI cable (TLSense devices) use root username.
4. Verify that you got an internet connection.
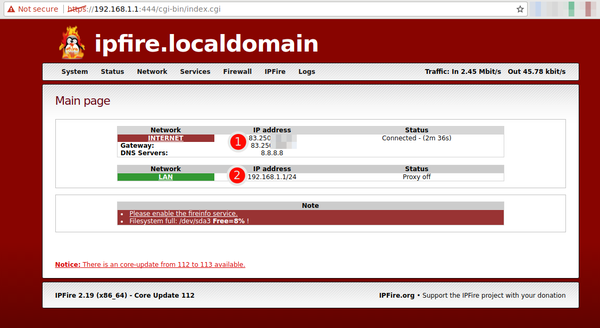
Number 1 should show your gateway IP. This will typically be your public IP.
Number 2 should show a local IP of your router: 192.168.1.1
5. WiFi (optional)
If you purchased a WiFi card, your Access Point will come preconfigured like this:
SSID: TekLager
Password: TekLager123
Mode: 802.11an (or 802.11ac, depending on the card)
You should be able to see the WiFi network out of the box.
IPFire's Web interface for editing WiFi settings is very poor. We generally don't use it, and we recommend that you avoid using it as well.
If your router has WiFi, you should edit the SSID, password, etc settings by manually editing the /etc/hostapd.conf file. Use SSH to connect.
The Web UI is often producing invalid configuration and make the Wireless interface broken. If you used the Web UI and your WiFi is broken, you can replace the /etc/hostapd.conf file with our default one.
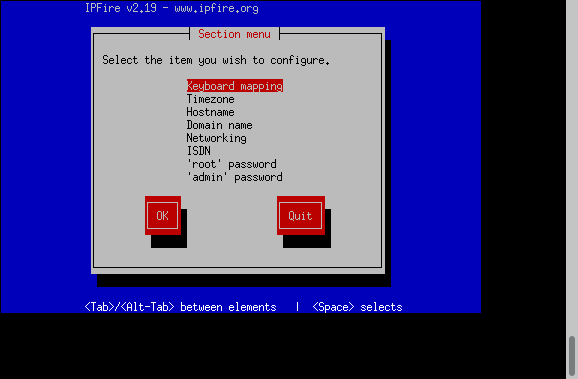
6. Reconfigure (optional)
If you would like to change how the red/green ports are configured, you need to connect via SSH or Serial port and type the setup command.
The default username and password are:
Username: root

Password: ipfire
If you are seeing this error:
Unknown terminal: 115200n8
Check the TERM environment variable.
Also make sure that the terminal is defined in the terminfo database.
Alternatively, set the TERMCAP environment variable to the desired
termcap entry.
you must set the TERM variable and try again:
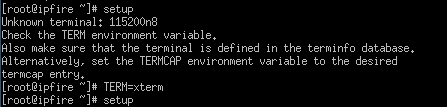
Now you should be seeing the setup user interface: