IPFire WiFi configuration instructions
This is a quick tutorial for getting started with WiFi on IPFire. It's written specifically for APU and TLSense routers, but should work on other hardware as well.
For the purpose of this tutorial, I assume that you already have an IPFire router, and just installed a new WiFi card that needs to be configured.
It's important to know that IPFire calls the wireless interface "Blue". LAN is "Green" and WAN is "Red". The first thing to do is to configure the Blue interface via terminal.
ssh into the router (or connect with serial cable) and login as root. Once logged in, execute the following commands to enter into configuration programm. It should look like this:

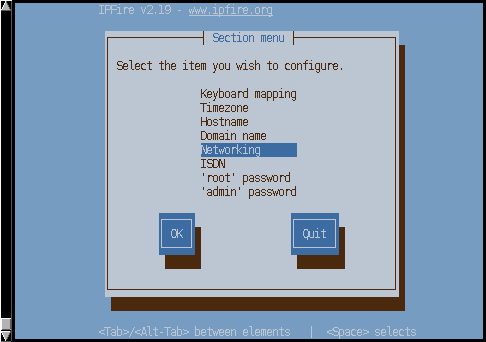
Network configuration type
Select "Networking" -> "Network configuration type" -> "RED + GREEN + BLUE".
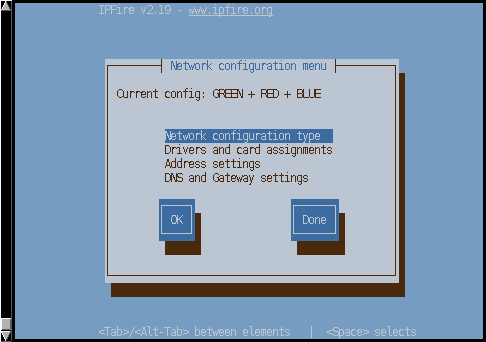
Once the configuration type is set, you can assign your network card to the Blue interface.
Select "Networking" -> "Drivers and card assignment" and select your wifi card from the list.
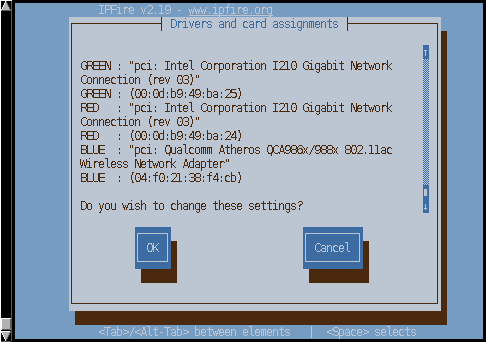
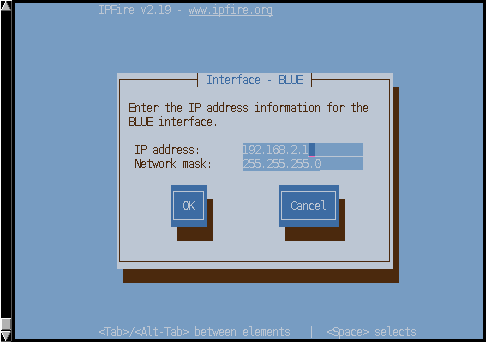
Save that and go to "Address settings" -> "BLUE".
Enter new IP for your WIFI interface. By default we set it to 192.168.2.1
See the full installation recording below
Save and exit. You should reboot the router now to make sure that it comes up with correct interface assignment. Once you have rebooted, connect via the web interface. You should see something similar to this:
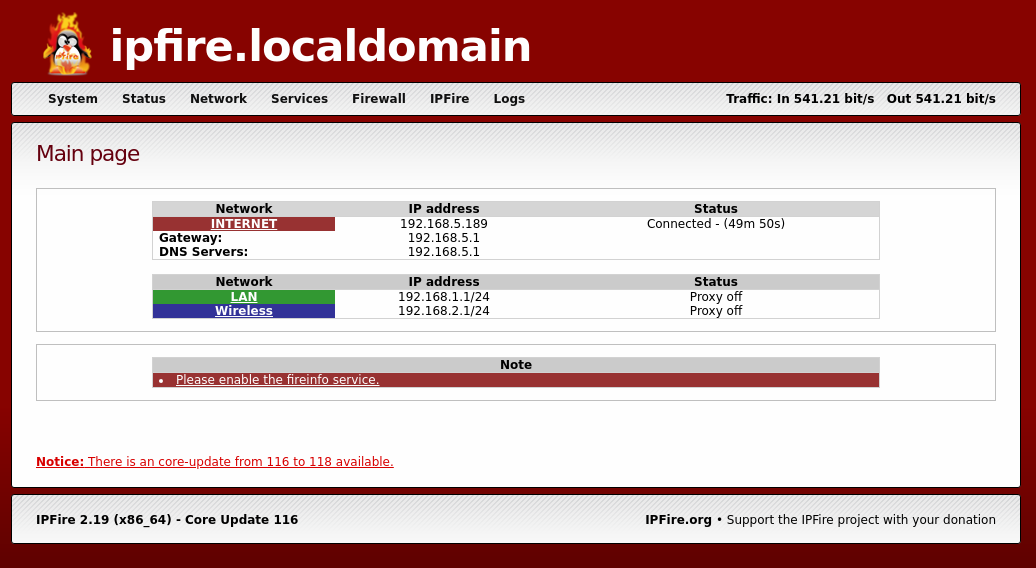
All interfaces are showing as expected, but the WiFi is not yet configured in any meaningful way. Now we need to install hostapd - the access point software and configure it.
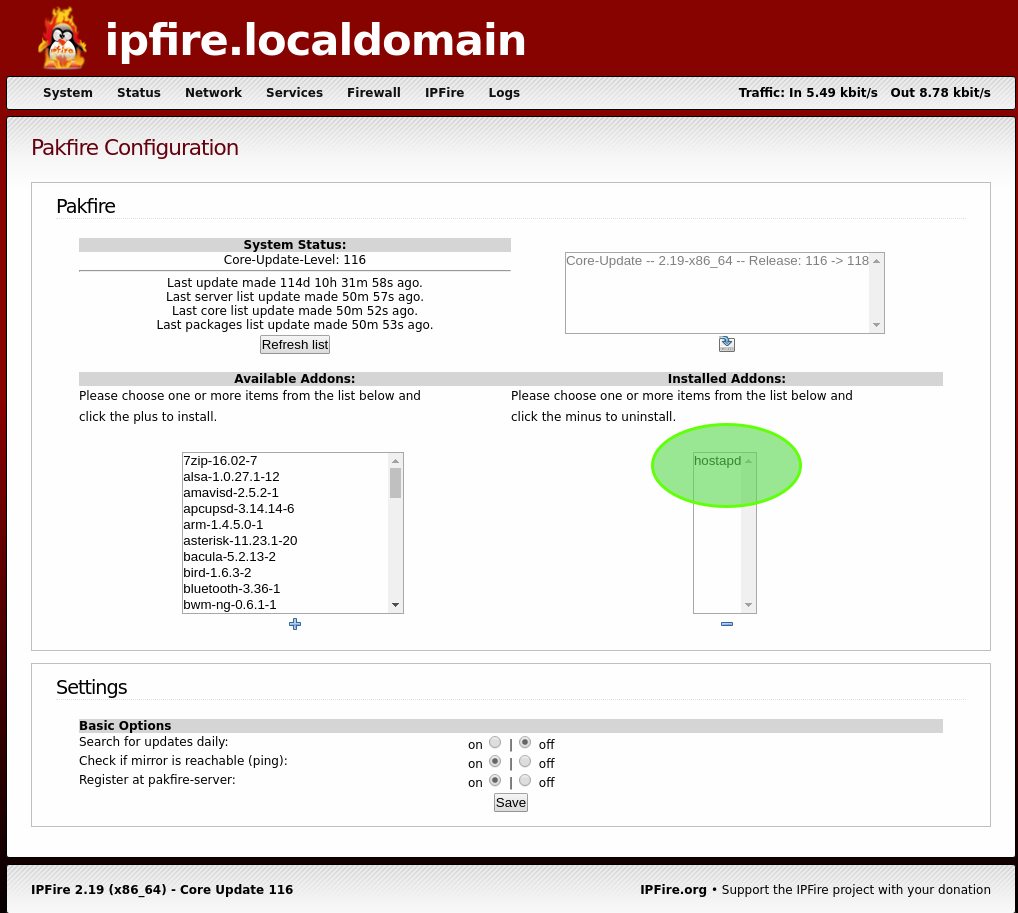
Hostapd installation
To install hostapd, click "IPFire" -> "Pakfire", now select "hostapd" from the list and click install. If the installation was successful you should see hostapd in the list of installed packages.
WLanAP configuration
Now you should be able to see new menu option under "IPFire" called "WLanAP". This is the main configuration interface for your access point. Below we are showing sample configuration that should work for you.
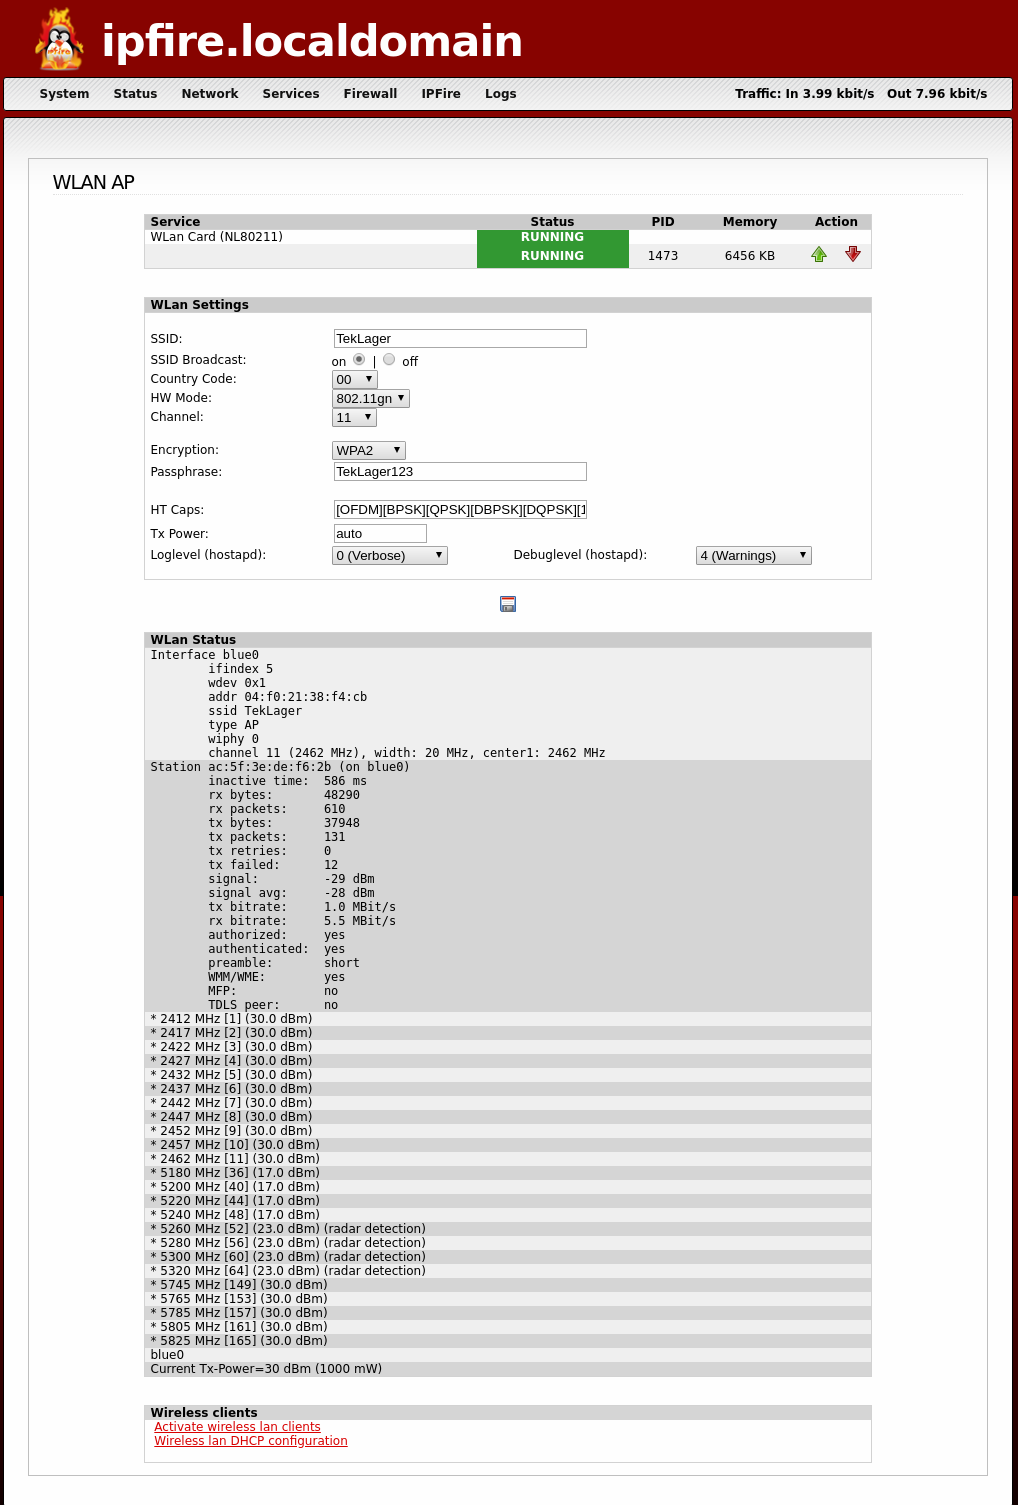
Note, you must select the "Country Code", otherwise the WiFi access point won't work.
IPFire HTCaps
The confusing field is "HT Caps". IPFire is unable to automatically detect all the transmission capabilities of your network card, and you have to enter this manually. Generally, if you leave this field empty your performance will suffer, but it will still work.
You can find the HT Caps on the datasheet of the network card on manufacturers website. All settings must be put in square brackets without spaces in between. The correct setting for wle600vx sold by us is [OFDM][BPSK][QPSK][DBPSK][DQPSK][16-QAM][64-QAM][256-QAM][HT20][HT40+][HT40-]
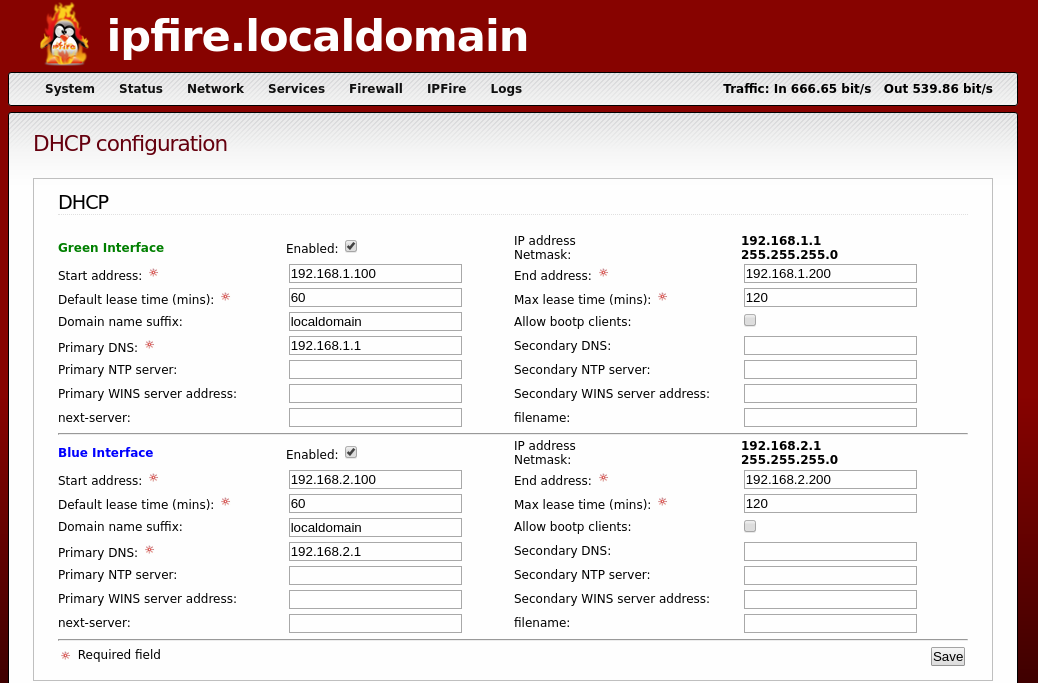
Blue interface DHCP settings
Now it's time to configiure DHCP range for this interface. Head to "Network" -> "DHCP server" and enable DHCP address pool for the blue interface as shown below:
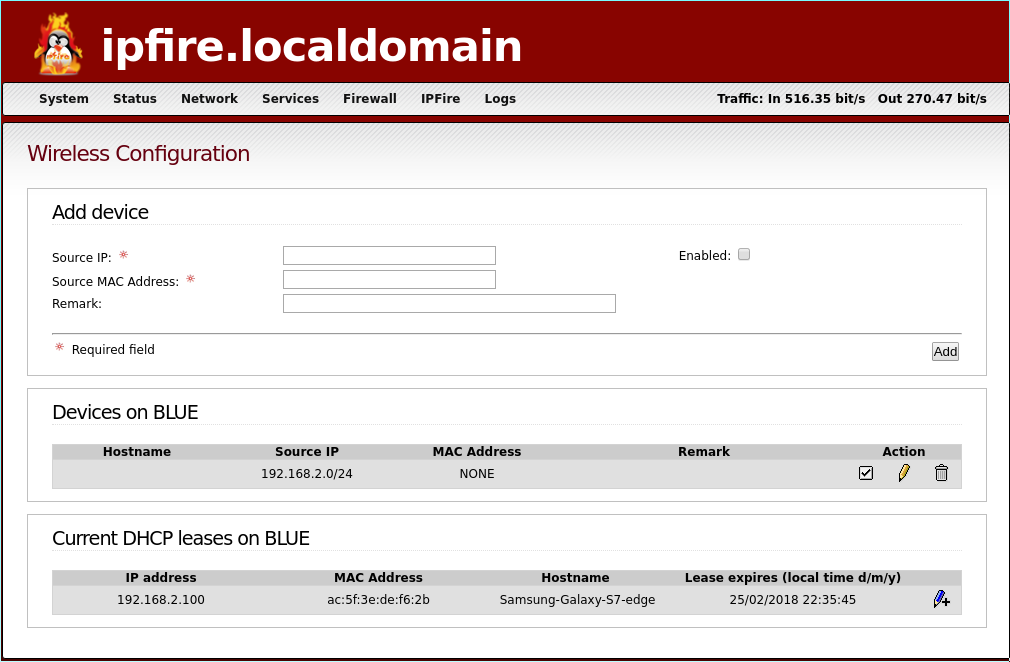
Activate wireless lan clients
Now the last step, and the most confusing part of this tutorial. You have to allow the blue IP range to connect to the access point. By detault hostapd rejects all new client connection.
Go to "IPFIre" -> "WLanAP" -> "Activate wireless lan clients" - link should be on the bottom of the page.
Here you can either enable clients one by one based on mac address, or configure the entire IP range as permitted. We recommend the latter, otherwise you have to enter all your devices, which is not an easy task. See the recommended configuration below:
If everything went well, you should be seeing your wifi network, be able to connect to it and get internet.
Note, this configuration works well, but might not be optimal if you have 802.11ac card. To get the full throughput on ac cards, you must modify the /etc/hostapd.conf file via terminal and add additional configuration options to enable the "Very Hight Throughput Capabilities".
Here's link to our config file for the wle600vx card.
Good luck!